ATMega32 16 MHz Fuse Bit
Configuring the fuse bits for the 16 MHz external crystal can be confusing for beginners. If you have never done this before, you might be wondering which program to use, and which parameters to set.
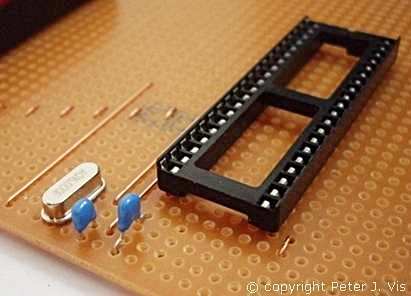
The ATmega32 ships with a 1 MHz internal RC Clock ready to use without requiring any programming. However, this project uses an external 16 MHz crystal as the clock source, and therefore the chip will require programming with new fuse bit settings.
Many programs currently available, such as AVRDude, or AVR Studio, can set fuse bits. However, I always like to support small organisations hence I am using PonyProg which is available under GNU General Public License. The ISP cable made earlier is compatible with that software, so that is the best place to start.
Be Very Careful
Fuse bit settings are very critical. If you change these settings without understanding, you may find your chip is no longer readable. The good news is that it is set only once, as they are stored separately from the rest of the flash memory.
I would recommend not playing around with these setting until you have read the full documentation thoroughly and know for sure what you are doing otherwise; you will end up locking yourself out of the chip. If you do, then you will need a high voltage programmer to reset the chip back to default settings.
This Article Continues...
ATMega32 16 MHz Fuse BitUsing PonyProg Software
ATMega32 Default Fuse Bit Settings
ATmega32 CKSEL Options
ATmega32 CKOPT Fuse
ATmega32 SUT CKSEL Fuse Bit
ATMega32 JTAG Fuse
16 MHz Crystal Fuse Bit Configuration
ATMega32 Chip Recovery