Installing the Gigabyte A320M-S2H Motherboard
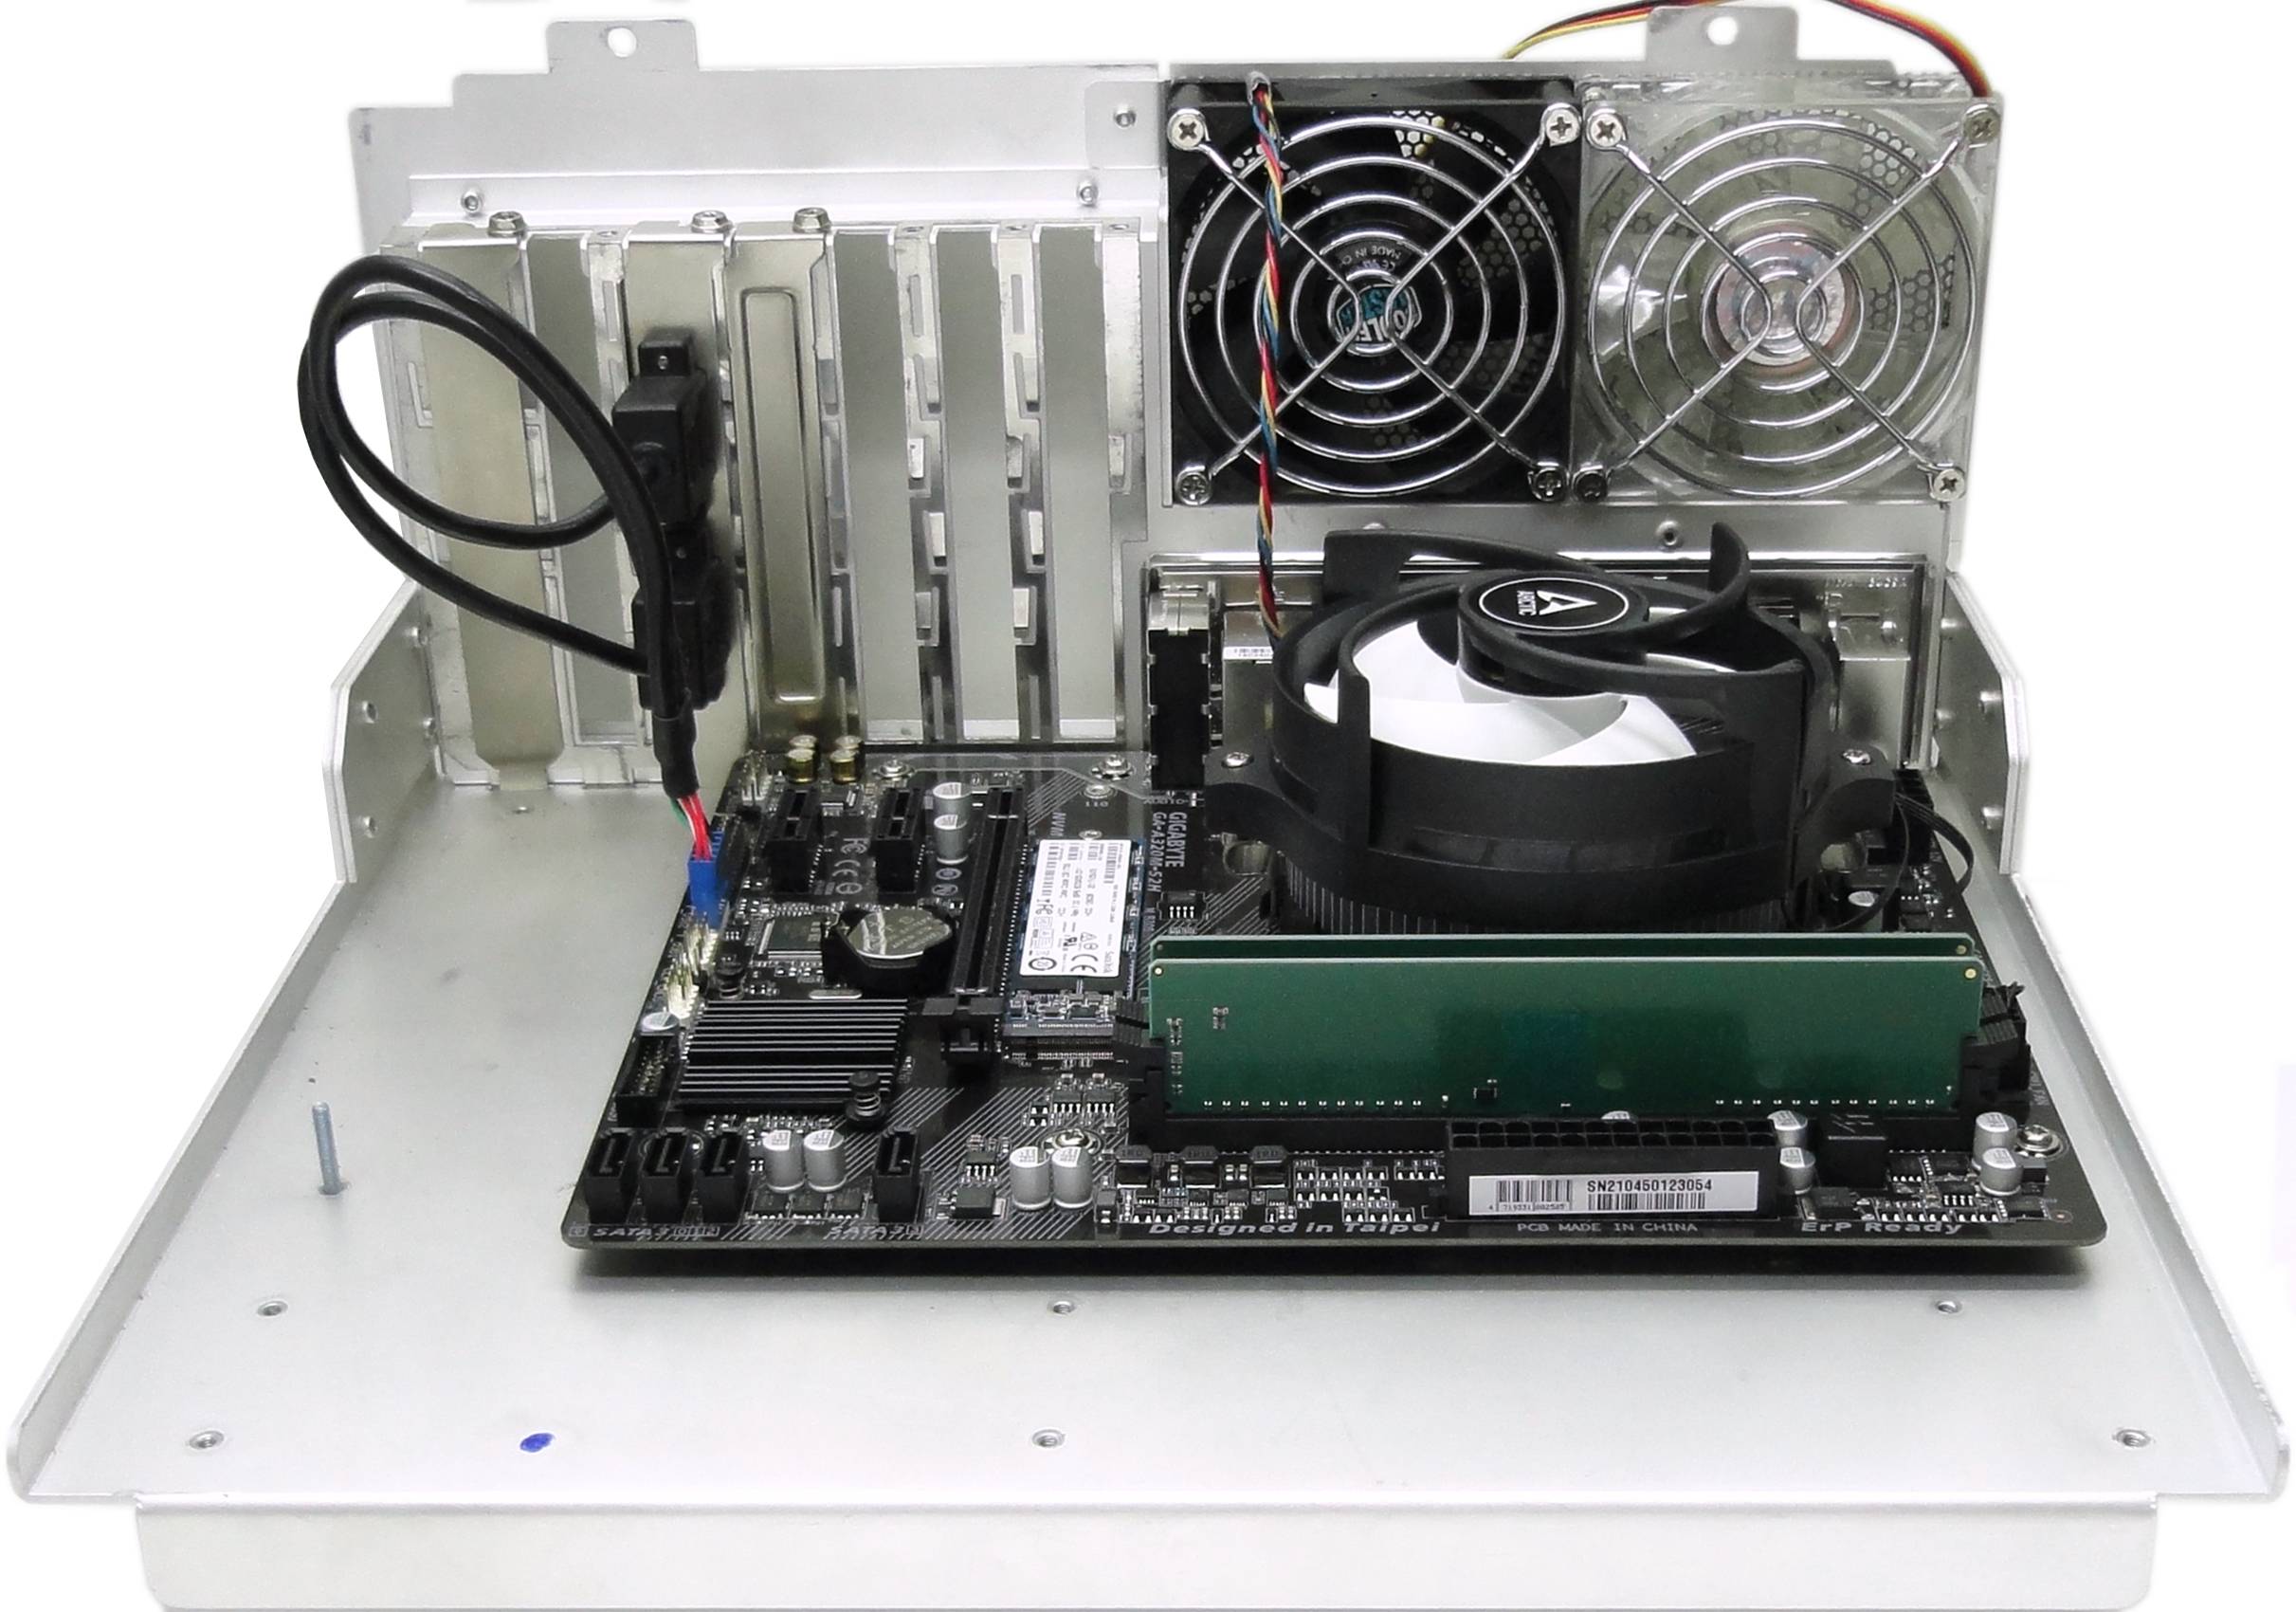
Installing the Gigabyte A320M-S2H motherboard is simple, and if you like I used to build 486 clones back in the late 90s, then the good news is that not much has changed. This motherboard has a Micro ATX form factor 24.4-cm × 19.5-cm, and you need to make sure that your PC case has risers in the correct locations corresponding to all the mounting holes on the board. My PC case is a very old one consisting of an aluminium panel which slides out for mounting the motherboard. I salvaged it in the 90s when I was at BAEE and it has served me well all of these years.
You also need to take all the electrostatic discharge (ESD) precautions when handling the motherboard, because it is an extremely sensitive piece of electronic engineering.
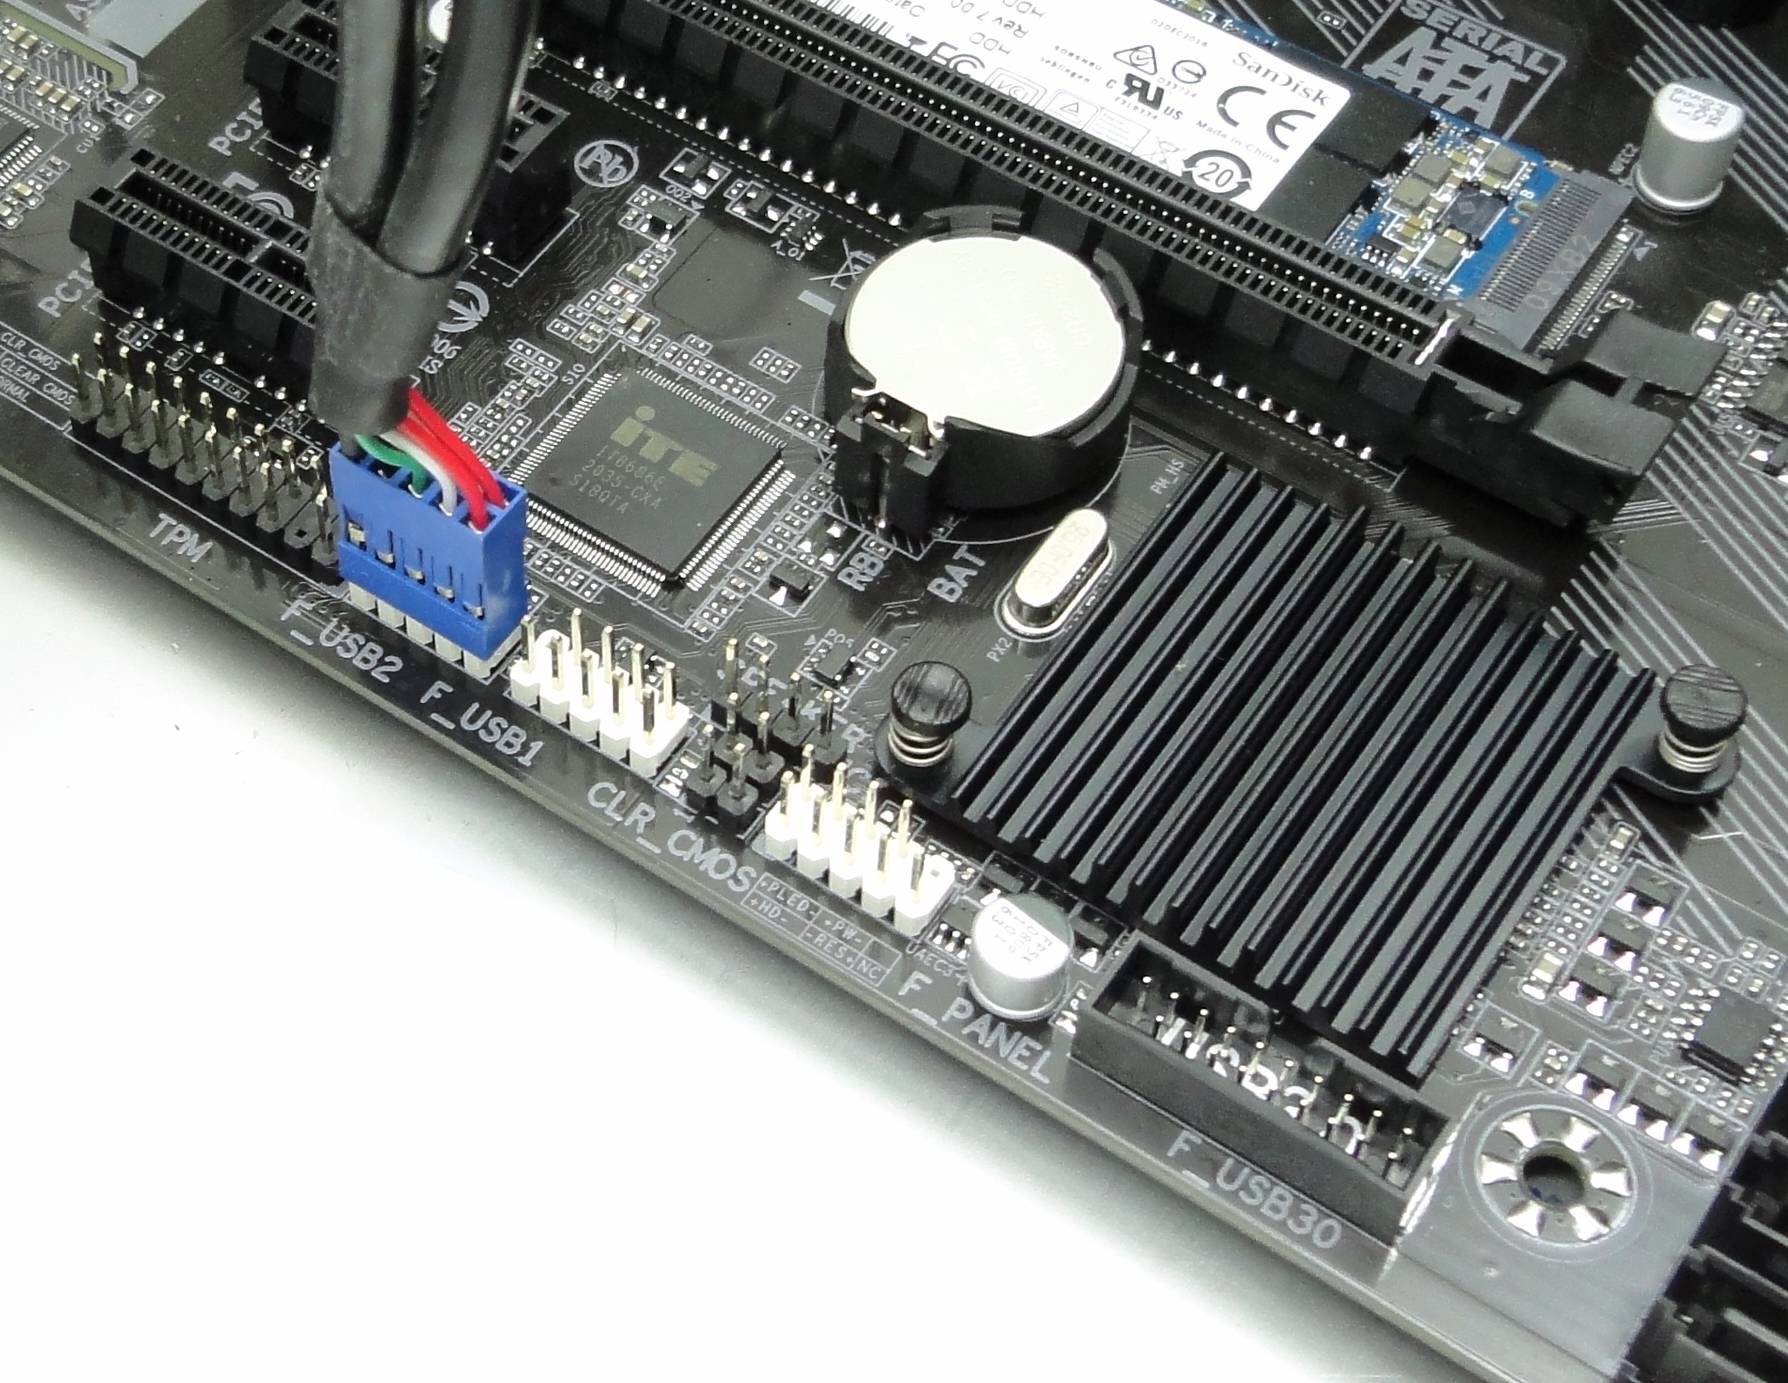
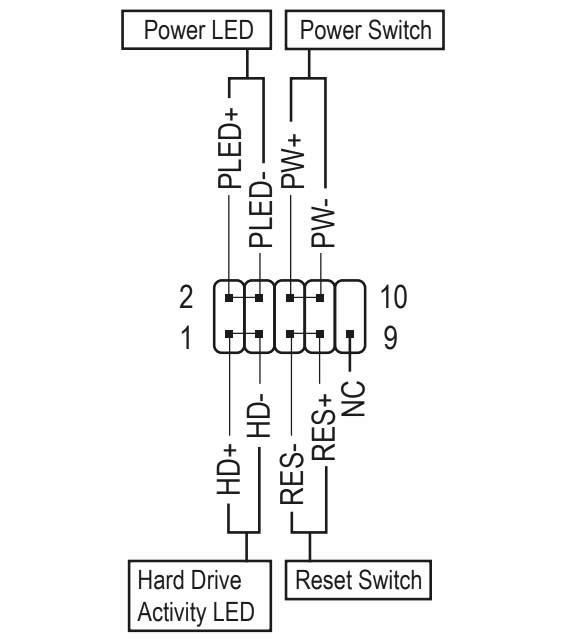
There is also some paper documentation provided with basic information, however the most crucial information regarding the wiring of the front panel header was elusive and I had to download the full manual from the Gigabyte website to find the wiring diagram.
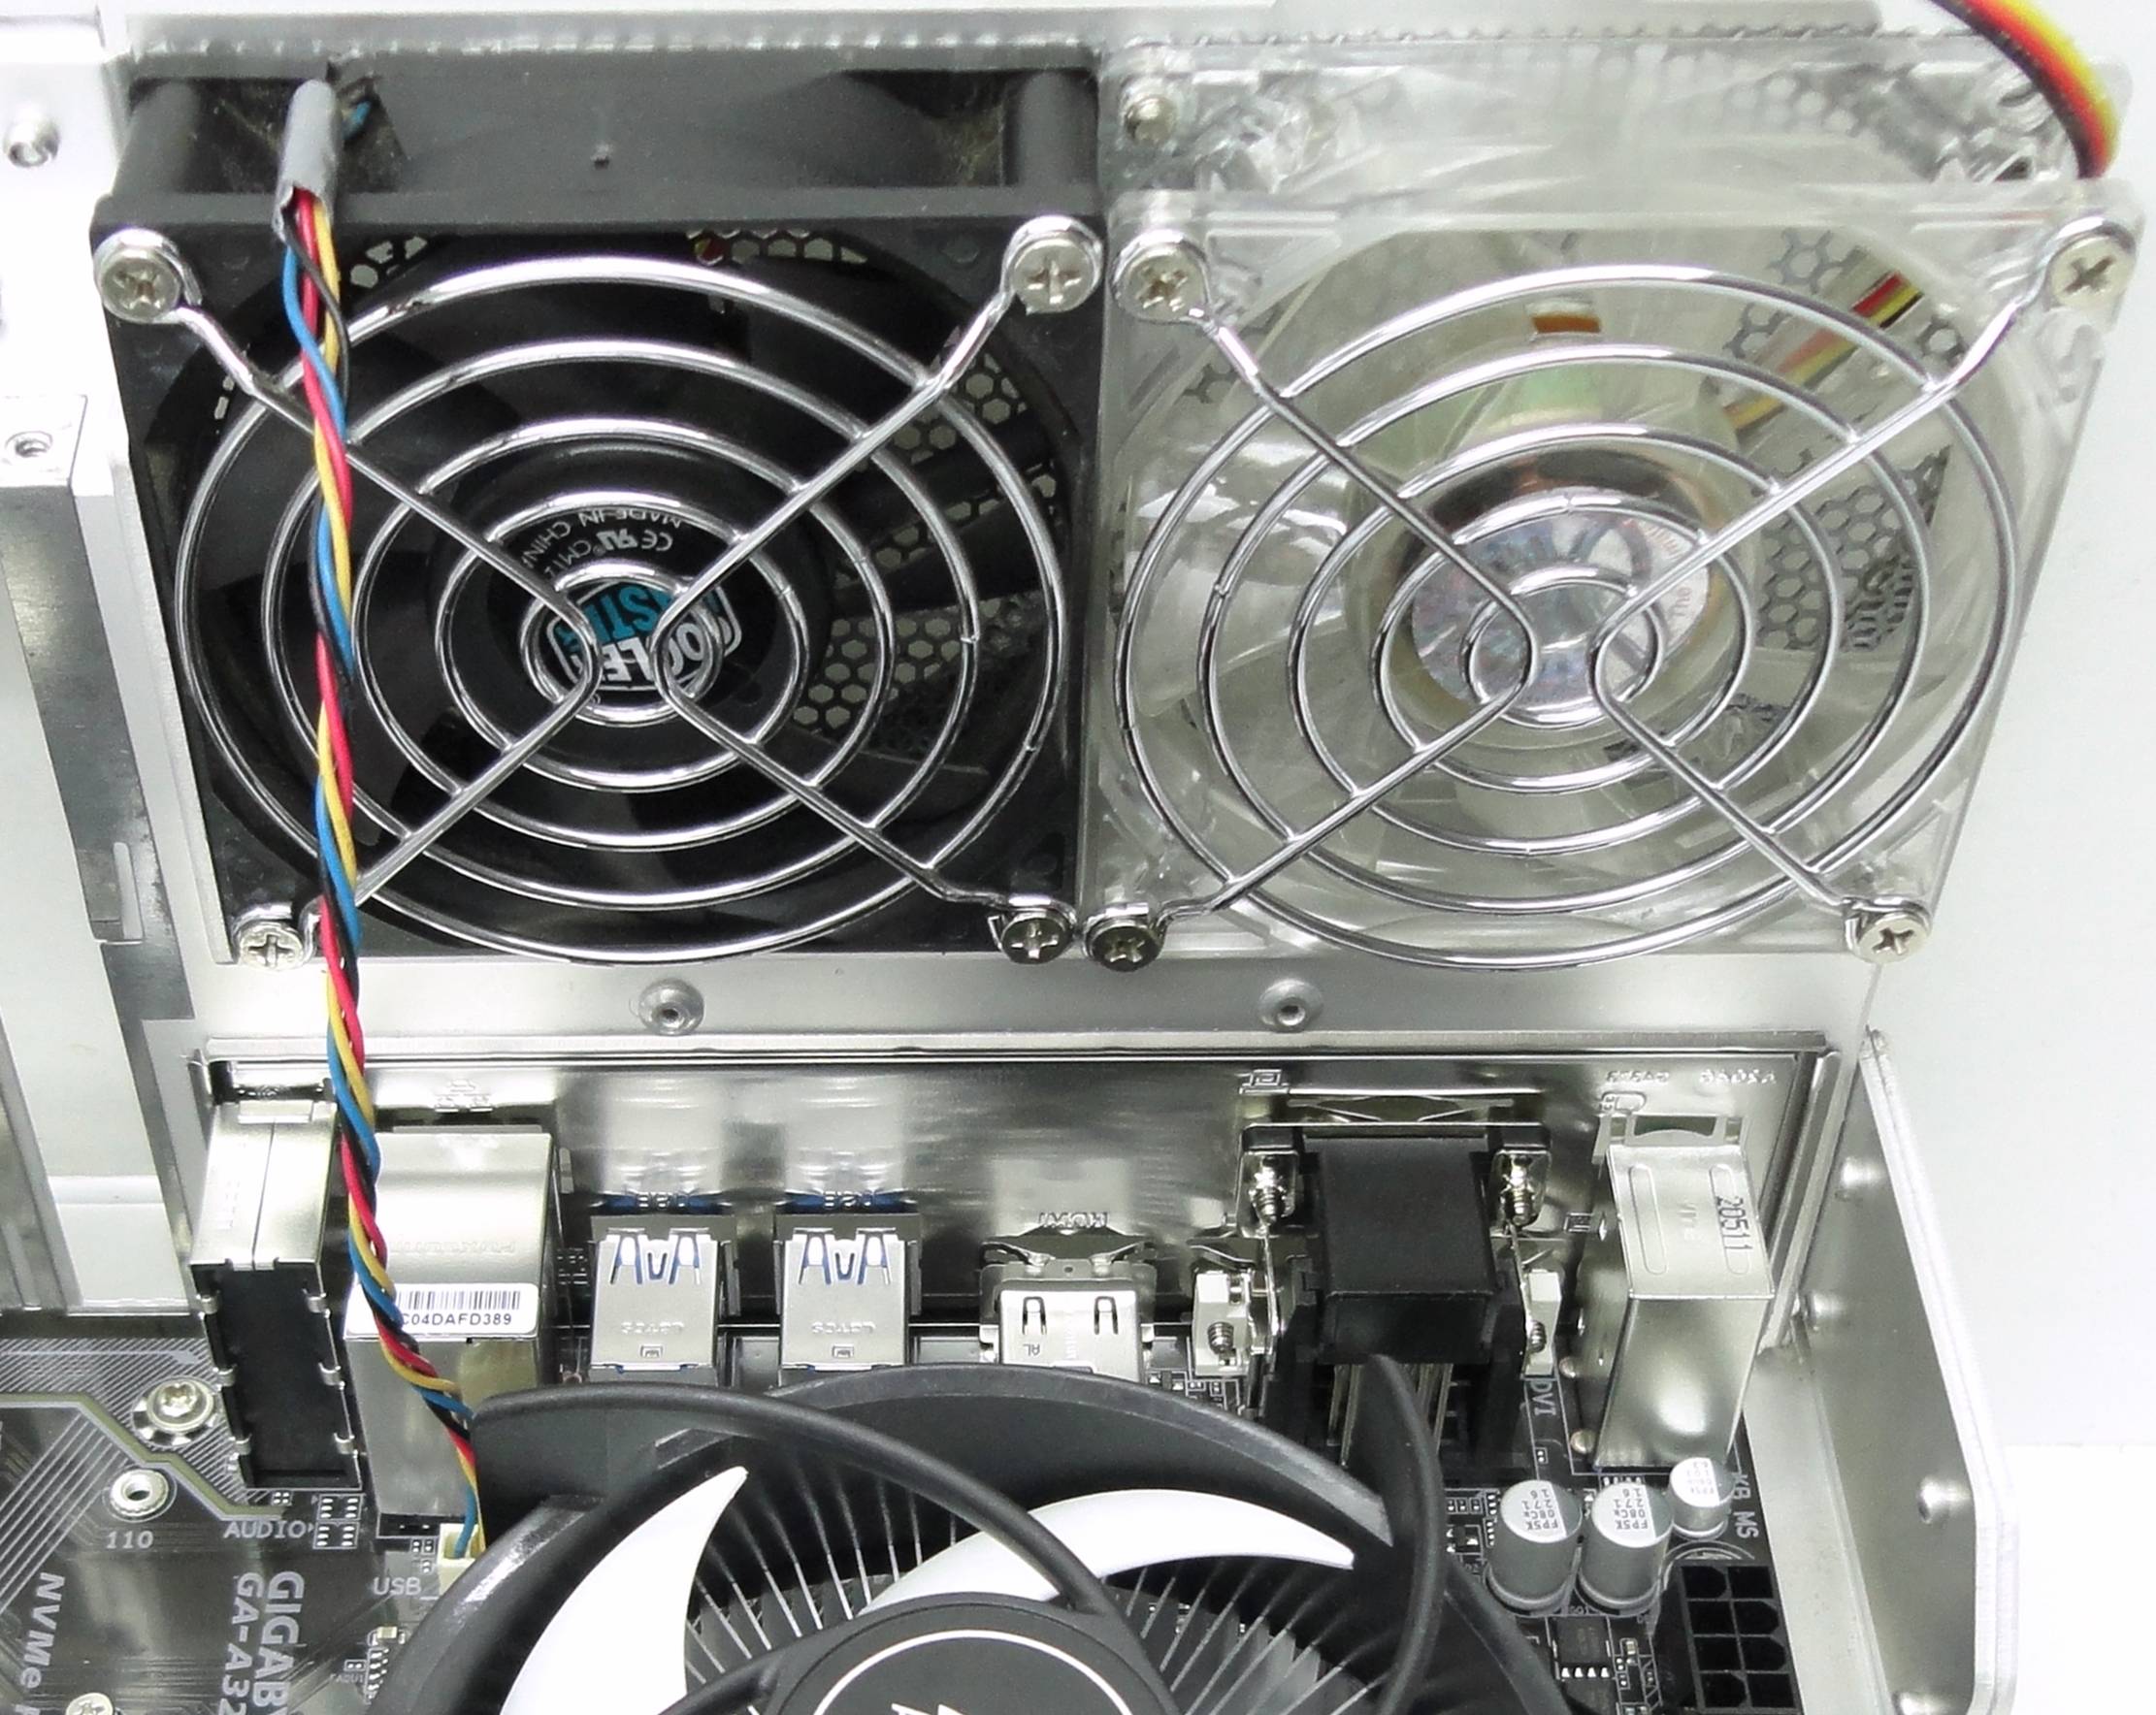
You will need a system fan with a 4-pin connector. This is just an old salvaged one that was originally part of the CPU cooler.
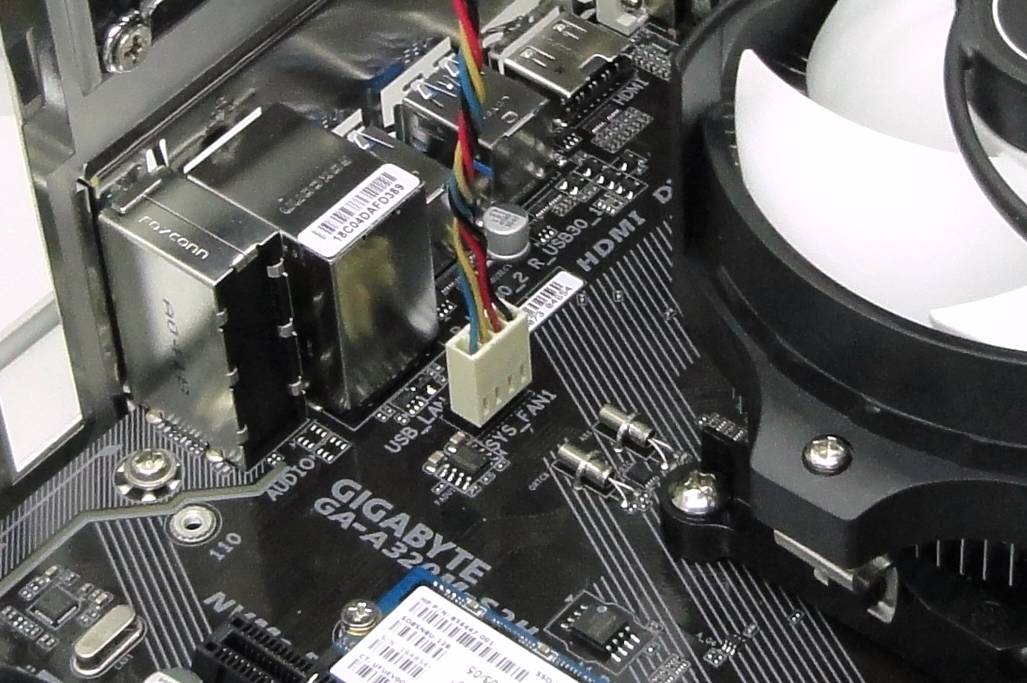
Connecting the four pin chassis fan was straightforward and commonsense.
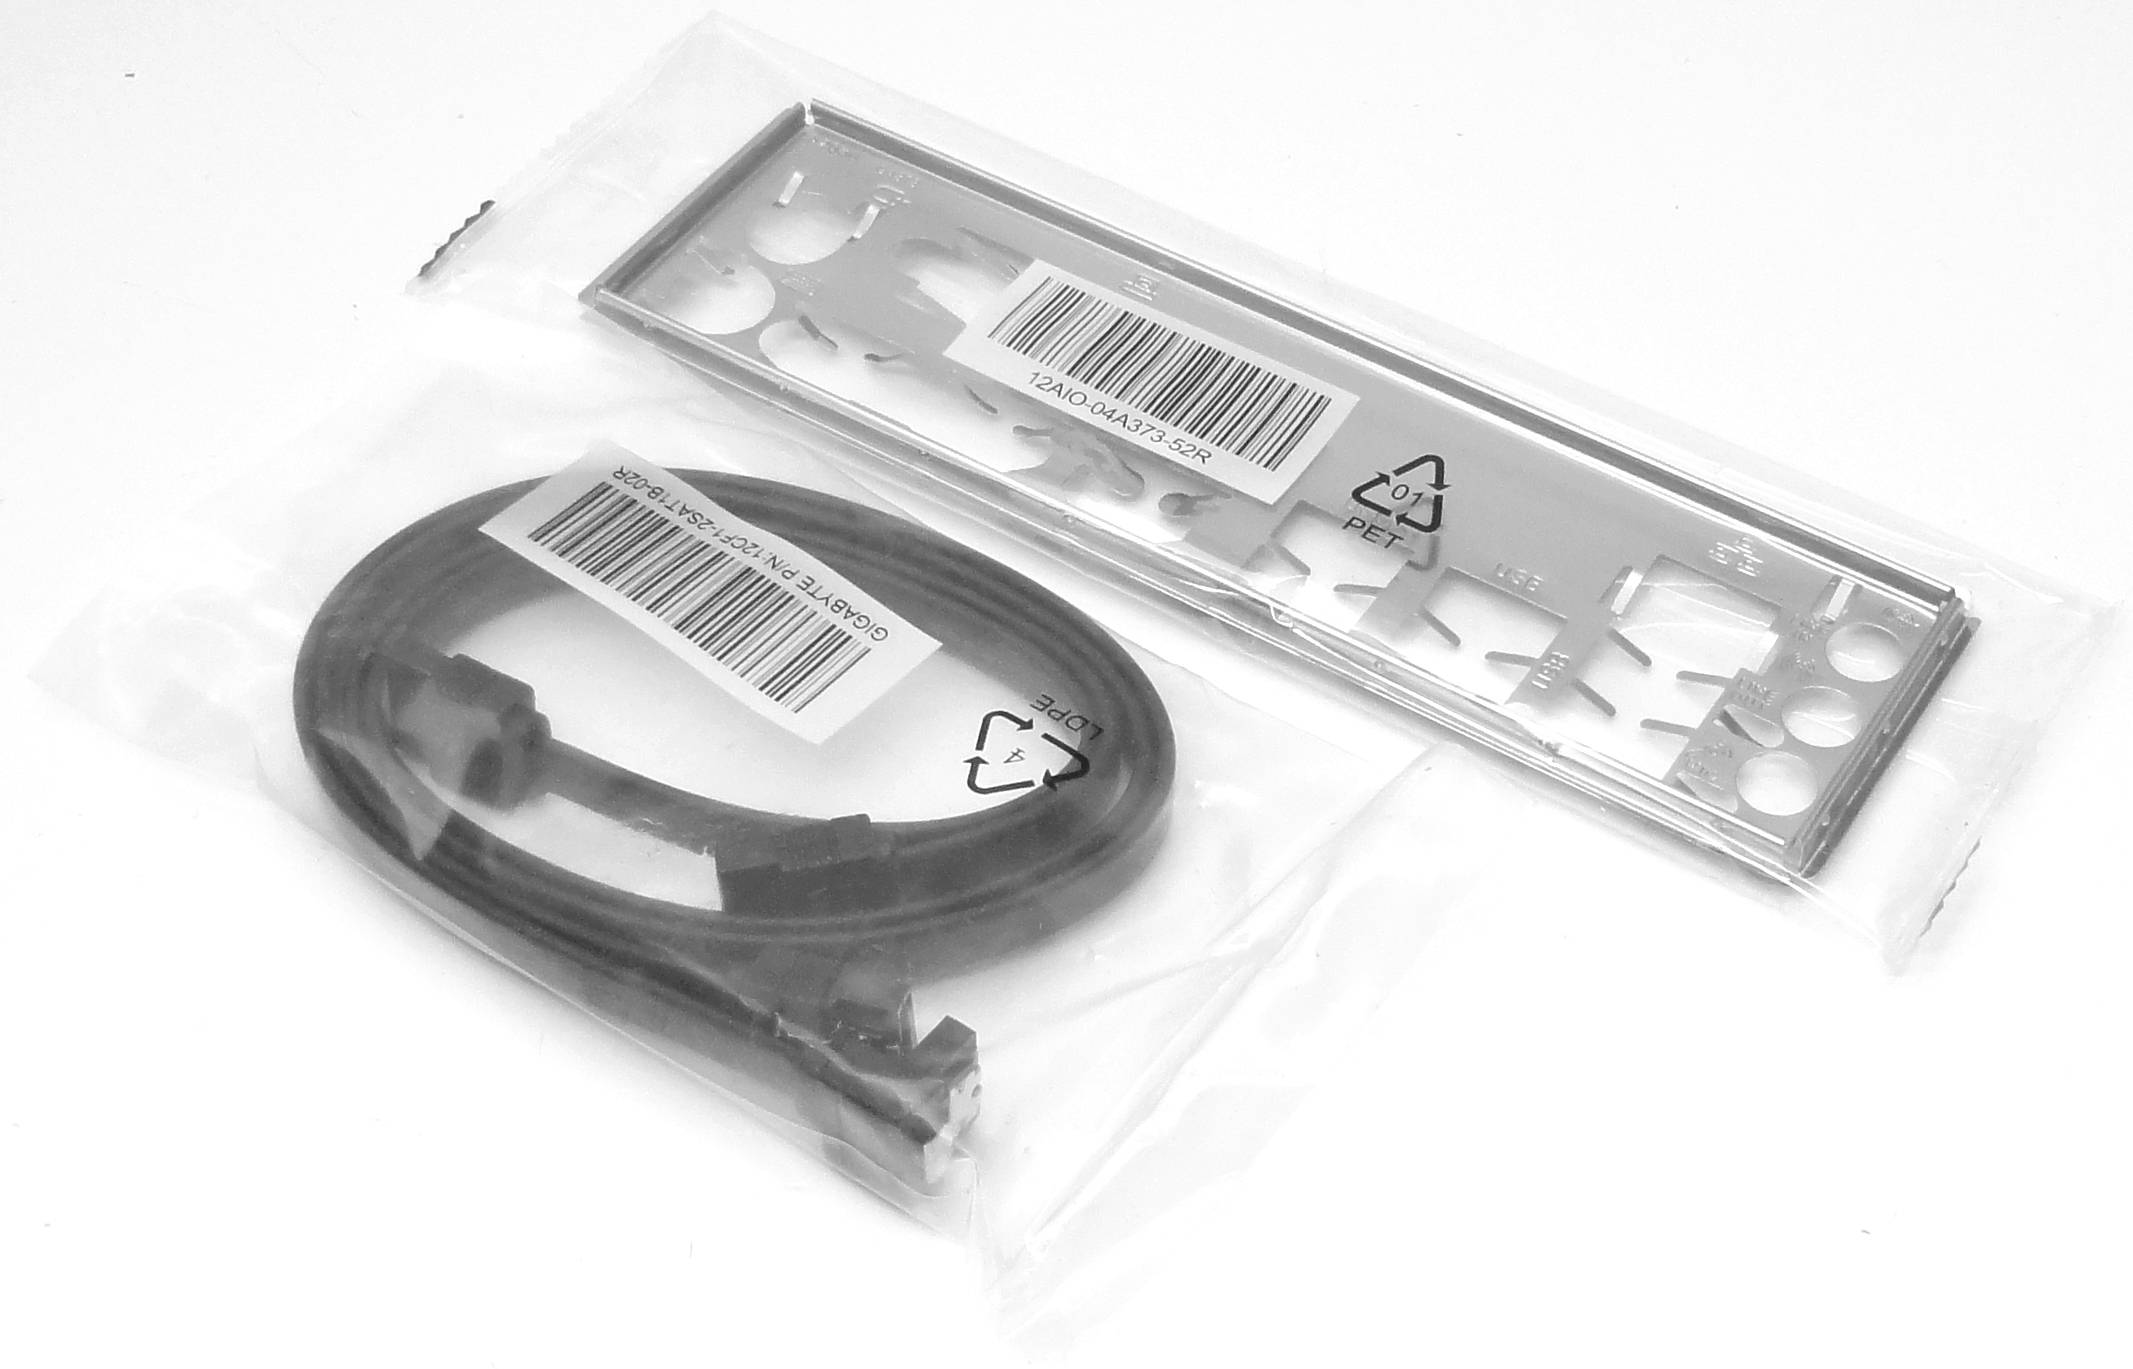
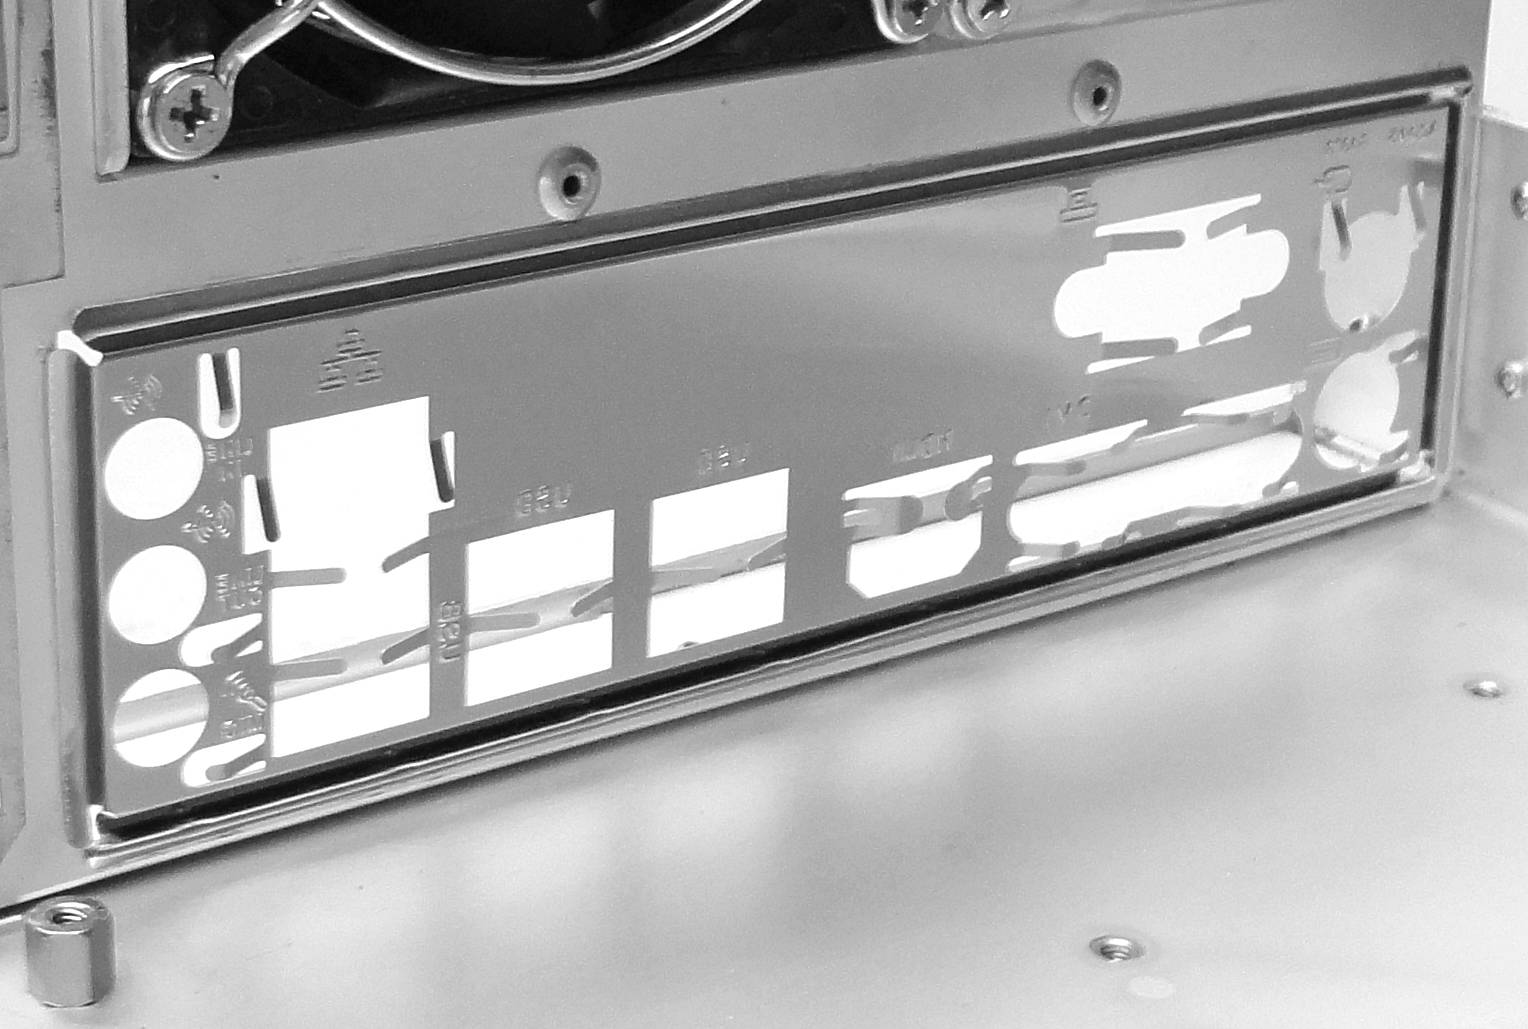
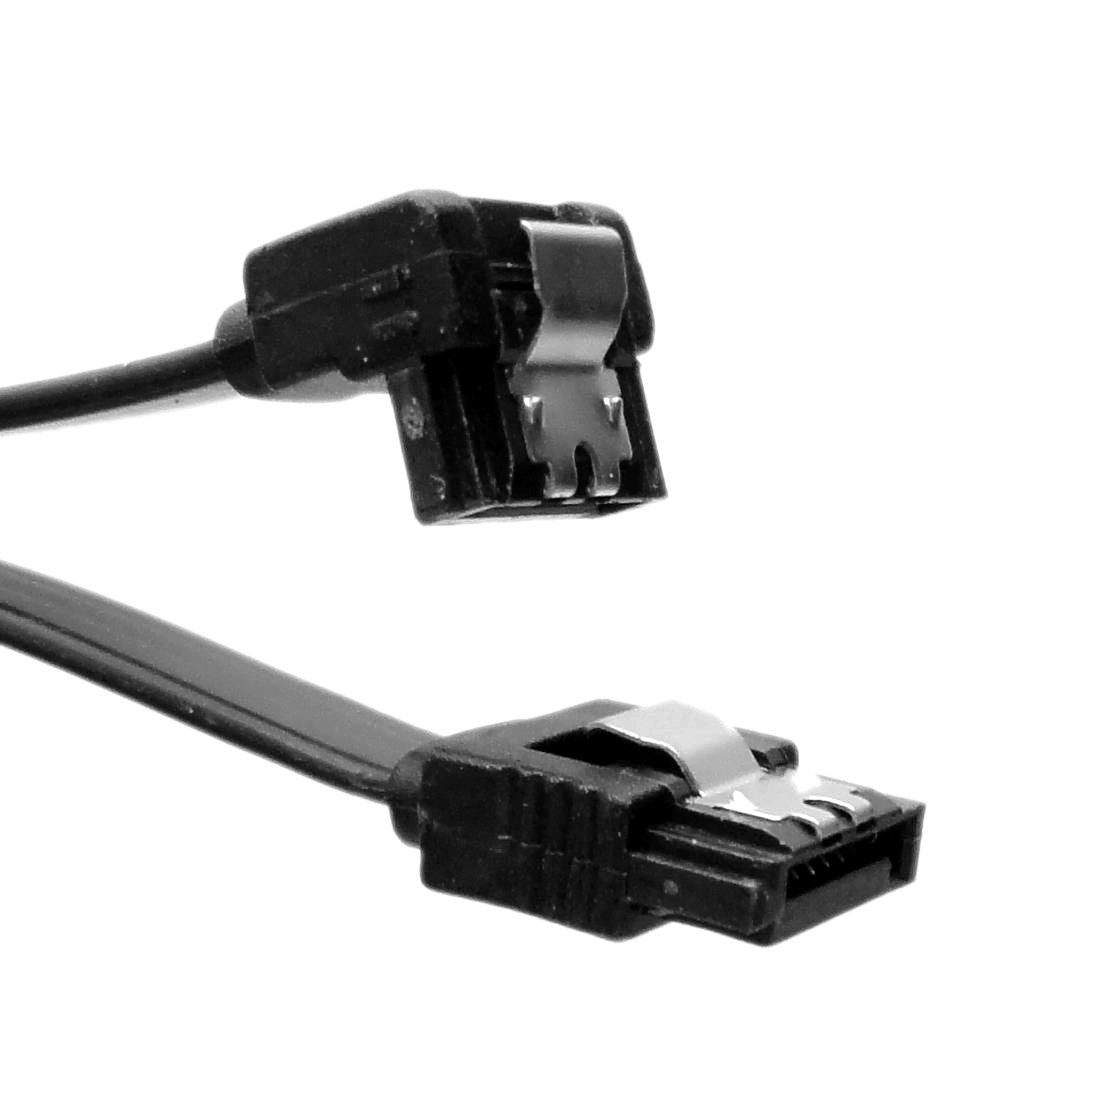
The motherboard comes with a backplate, and a pair of high-quality SATA cables which were very useful.

Connecting the USB header is simple too.
This Article Continues...
Peter's Computer in 2022Gigabyte A320M-S2H
A320M-S2H Motherboard with AMD Athlon X4 950 CPU Bundle
Installing the Gigabyte A320M-S2H Motherboard
Sockets
AMD Athlon X4 950
Arctic CPU Cooling Fan with Heatsink
Installing UDIMM Memory
CMOS Battery
M.2 Slot
Aerocool Integrator Mod XT 750W