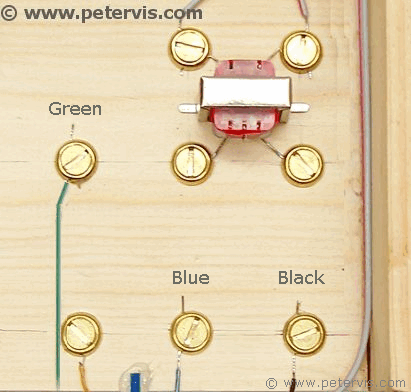
10k Potentiometer Wiring
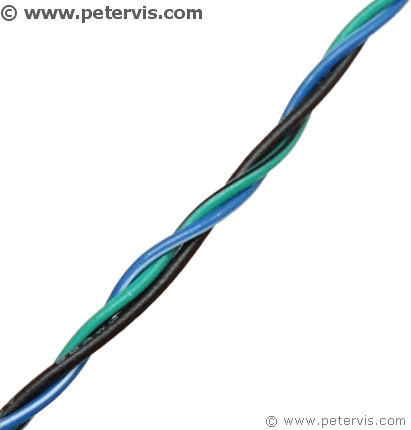
The 10 kΩ logarithmic potentiometer provides the volume control facility. It has three terminals, which require wiring. I decided to twist three pieces of wires together to bundle them. I am using green, blue, and black.
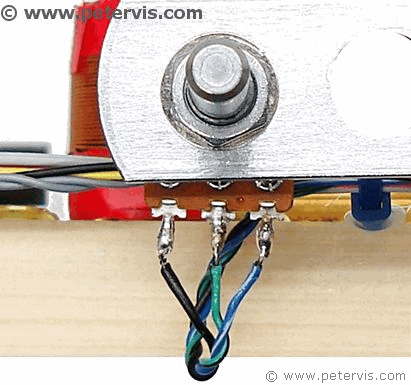
As you can see, the green wire goes to the centre. The black wire goes to the left terminal, and the blue to the right terminal. Of course, if you have some clips, then you could also use those instead of soldering. However, I did not want to spend any more money as the cost was running away, and tipping over the ten-pound mark.
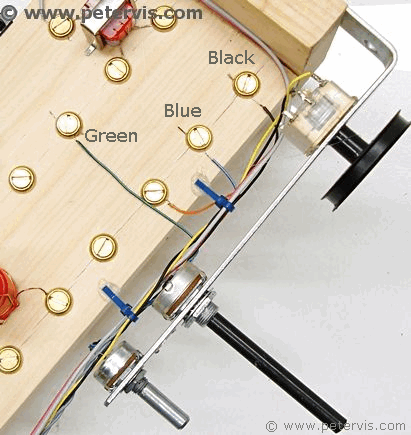
I have neatly routed the green, blue, and black wires and connected them under the relevant brass screw cups.
Here is another view showing how to connect the potentiometer terminal wires.
Tying the Wires
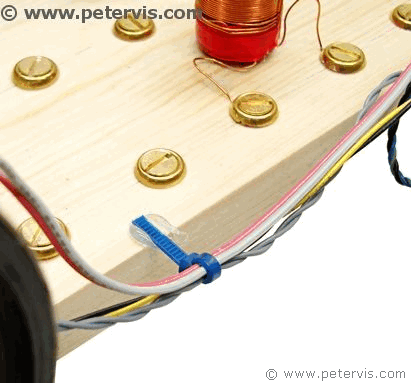
Here is an interesting way to route the wires and tie them. I am using an off-board scheme so that the board remains un-cluttered for installing the components.
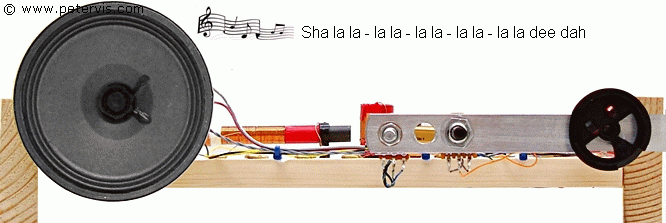
Since my clients wanted the controls in specific places, it meant having to route long wires from the controls to the circuit.
Back when I was a whippersnapper, I remember wiring up a data centre, which took me three weeks! Cable tying is an important part of work because it keeps the wires organised so that you can find them when you need to troubleshoot.
When you are tying wires together in commercial products, you have to understand the effects of cross talk, and interference. This is very important in high frequency circuits.
Many of the vintage tape recorders made in Japan used string to tie bundles of wires together. A good example is the Sony TC-152SD.
This Article Continues...
Making a Crystal Radio Electronics LabMaking a Crystal Radio - The Little Whippersnapper's Parts List
Crystal Radio Baseboard 4-inch by 12-inch by 1/2-inch
No. 6 Brass Screw Cups & No. 6 Screws 1/2-inch
Marking Out the Baseboard and Installing the Screws
Making the coil
Crystal Radio Coil
Crystal Radio Coil Winding
Crystal Radio Coil Terminals
Connecting the Crystal Radio Coil
Main parts
Crystal Radio Diode
Germanium Diode Test
Crystal Radio Earphone
Crystal Radio Circuit
Crystal Radio Specification
Optional
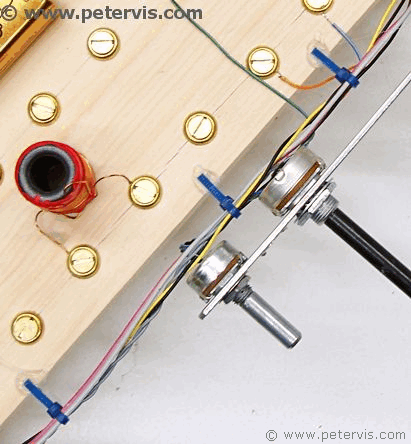
Potentiometer Mounting Bracket
RFC - Radio Frequency Choke
Project Power Supply Wiring
10k Potentiometer Wiring
BC549C Lead Extensions for Future Amplifier Projects
Wiring the Speaker to the LT700 Transformer
Credits
The Little Whippersnapper's Radio